Roles and Permissions define and control the access users have within the system. When adding a new user, you will need to assign them with one or more roles, which grant permission to perform specific actions, such as creating and managing jobs, approving requisition requests, adding new users, etc.
Roles and permissions can be configured to suit your company's needs. Occy includes six standard, fully editable roles, with the option to create additional roles as needed. All roles can be customised by changing the name and the permissions assigned to it.
Note: Only users with Role Administration access (included in the default Admin roles) can manage roles and permissions for other users.

Overview
The Roles & Permissions section can be found by choosing Settings from the main menu, then Roles & Permissions.
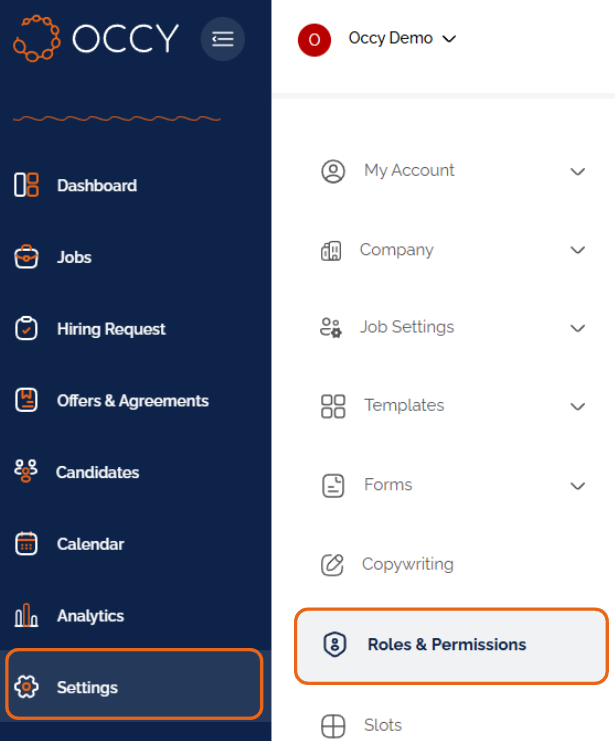
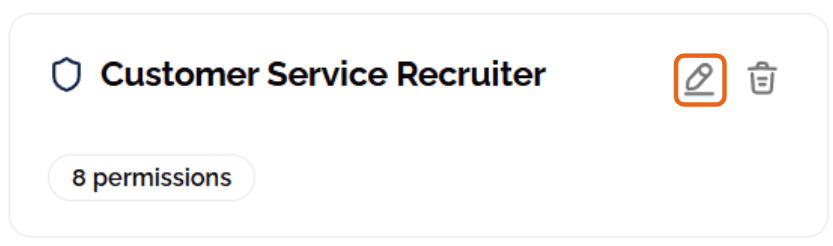
Each role will show overview information, including what area of the system the role is linked to and how many permissions are included within the role. Use the pencil icon to edit the name and permissions assigned to the role.
Click the bin icon to delete a role.
Important Note: Deleting a role will unassign it and all associated permissions from all active users. Before deleting a role, make sure to check how it will impact system management.

The Six Standard Roles Adding A New Role
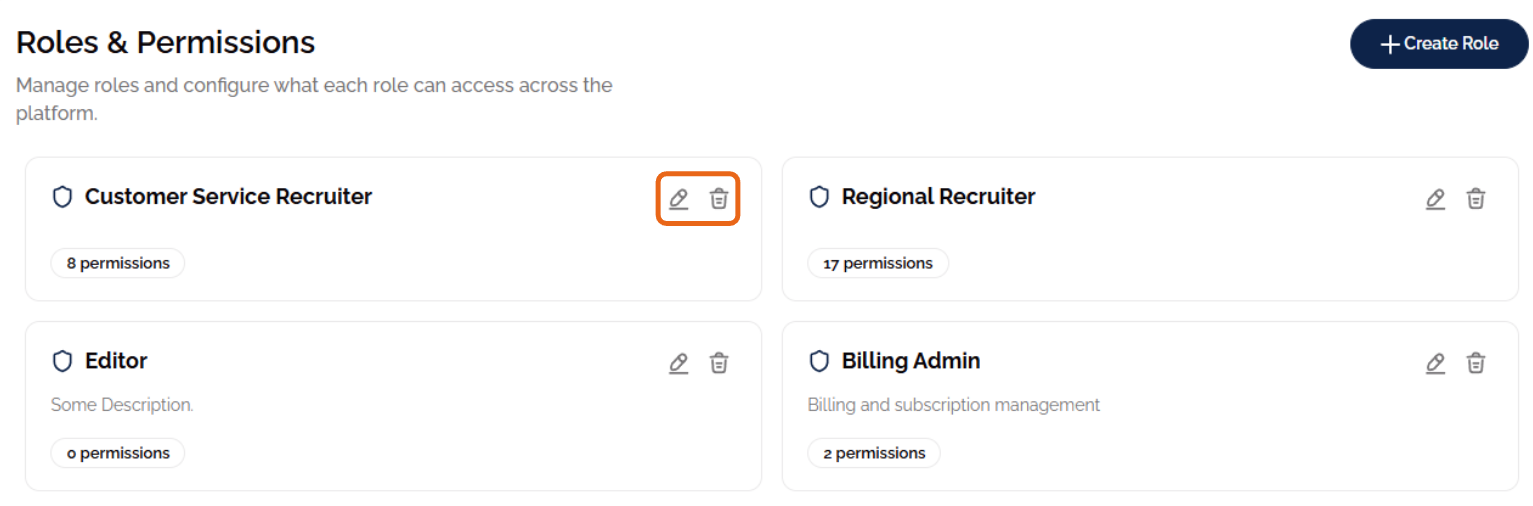
Occy provides six standard roles. You can rename these and adjust the permissions assigned to them to suit your purposes, or use them as-is. Users can be assigned to multiple roles, allowing them to complete tasks in all areas of the system. Here is a summary of each existing role:
- Admin: Full access across the platform, including user management, billing, documents, and role administration.
- Recruiter: Access to jobs, applications, interviews, and recruitment workflows.
- Hiring Manager: View jobs and manage applications and interviews on jobs the user is assigned to as part of the hiring team.
- Interviewer: Interview scheduling and management, plus limited user visibility for coordination.
- Billing Admin: Subscription and billing access only.
- Approver: Approval of hiring plans and related workflow actions.

Adding A New Role Editing a Role
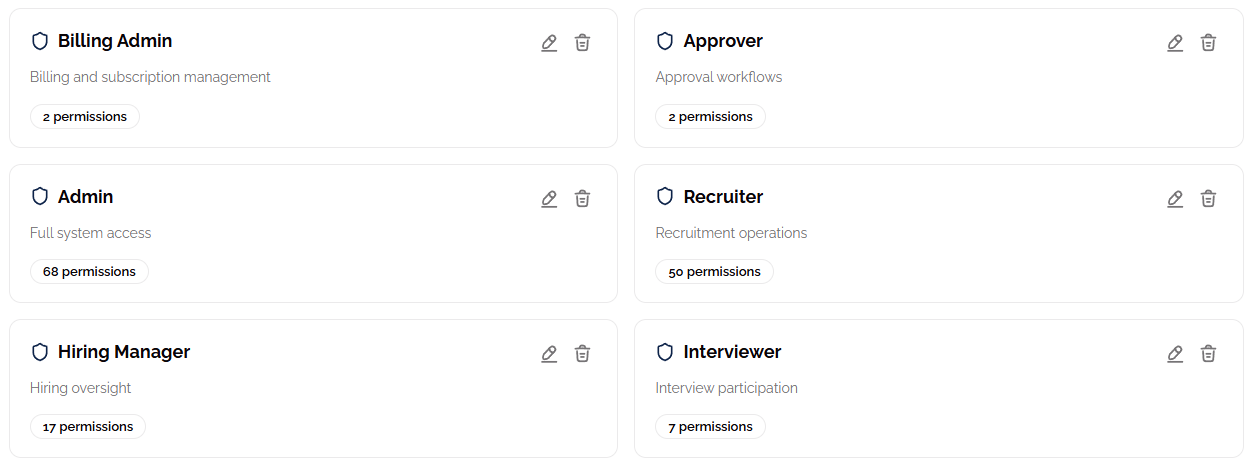
Easily create a new role with bespoke permission settings by click the Create Role button at the top of the Roles and Permissions page.
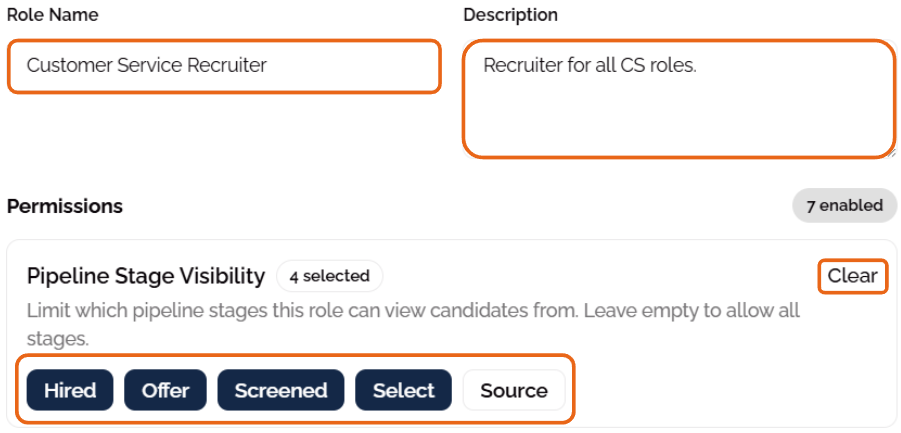
Next, give the role a clear title and description.
In the Pipeline Visibility section, you can limit the visibility of specific hiring stages by deselecting the stage that you would like users not to see. Alternatively, click Clear All to deselect all hiring stages.
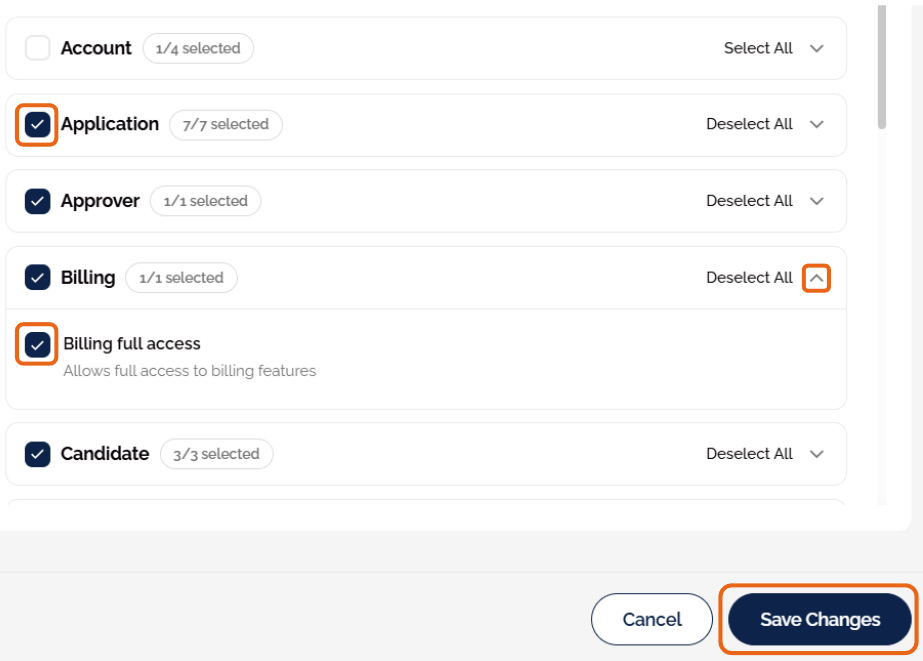
Now select which permissions the role will have.
Permissions are organised into sections; use the dropdown arrow to expand the sections and browse all permissions, or click the box to enable all permissions in the section.
Click Save Changes to finalise and save the role.

Editing a Role
To edit the name or permissions of an existing role, simply click the pencil icon within the tile, make the changes, and click Save Changes at the bottom of the window.
Was this article helpful?
That’s Great!
Thank you for your feedback
Sorry! We couldn't be helpful
Thank you for your feedback
Feedback sent
We appreciate your effort and will try to fix the article